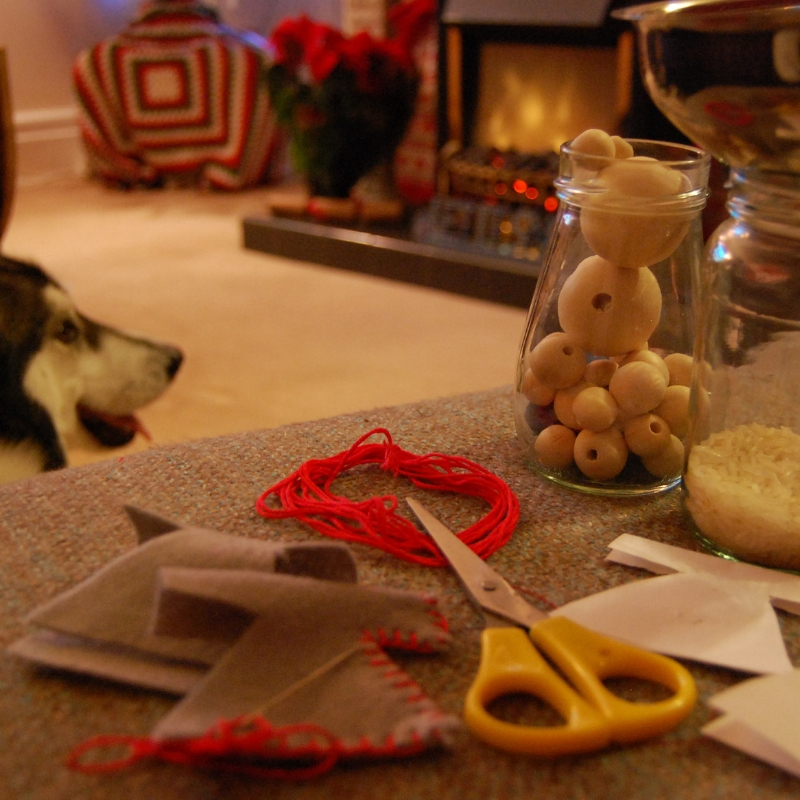
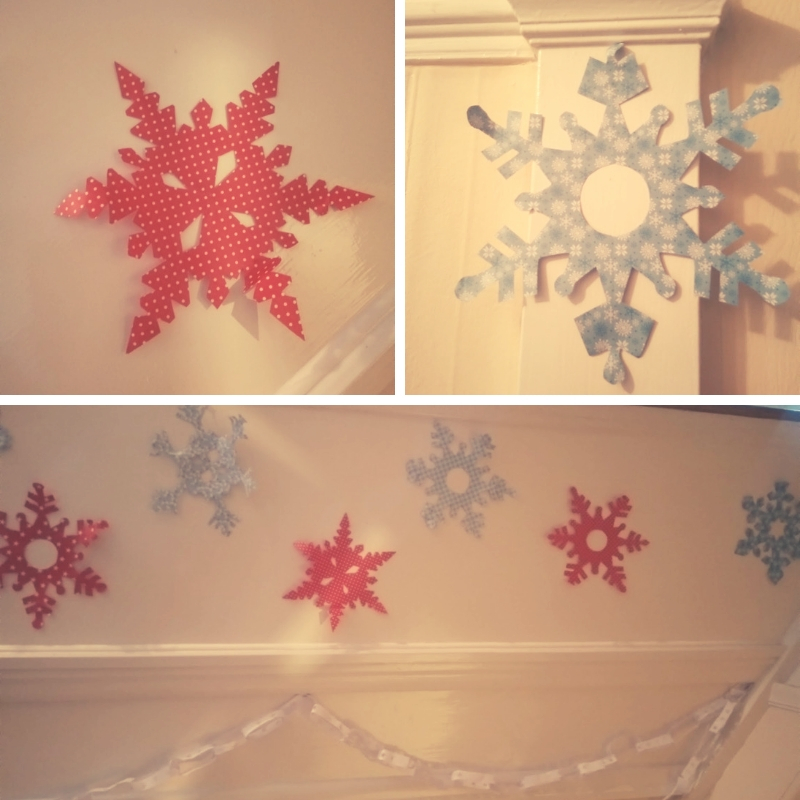
By Emmajo Haslam

Plastic Free Christmas ~ A Festive Guide ~ Decorations

I can’t believe that it is December! I don’t know where 2018 has gone. For me and my daughter this is one of our favourite time of the year (the boys are a bit more Grinchy!)

We love Christmas; the giving, the decorations, the warmth, the kindness, the food- basically all of it apart from the consumerism. Throughout December I will be sharing with you the best ways to have a Plastic Free Christmas ~  Festive Guide ~ Decorations

It's beginning to look a lot like Christmas....

Plastic Free Christmas ~ A Festive Guide ~ Decorations

It has always been important to me use Plastic Free decorations. Over the last few years we have gradually replaced our old broken decorations with Nordic inspired wooden, metal and fabric ones.

As well as shop bought decorations, we have always had some homemade ones. This year we have taken this up a level and found some simple, cost effective and plastic free ways to decorate our home and we want to share them with you in our 4 part Plastic Free Christmas ~ A festive Guide.

  • Part 1: Decorations
  • Part 2: Gifts
  • Part 3: Food
  • Part 4: Christmas Waste

Trees:

You cant talk Christmas decorations without starting with a tree! I still have a Plastic Christmas Tree – we have owned this tree since 2004 and it is still going strong.

When my tree has finally come to the end of its lifecycle I will look at a sustainable alternative. I really like the sound of renting a real Christmas tree. Grown in large pots you rent the tree for the festive period and then return it in January. If you have a real tree just remember to buy sustainably and recycle responsibly

According to a BBC article, Dr John Kazer, at the Carbon Trust:

“if you have an artificial tree at home you would need to reuse it for at least 10 Christmases to keep its environmental impact lower than that of a real tree,”.

Paper-chains

Plastic Free Christmas ~ A Festive Guide ~ Decorations

Paper-chains:

These can be as simple or as sophisticated as you like. You don’t have to go out and buy pre made chains.

Equipment:

  • Scissors.
  • Paper.
  • Glue stick.
  • Hole punch (optional)

Instructions:

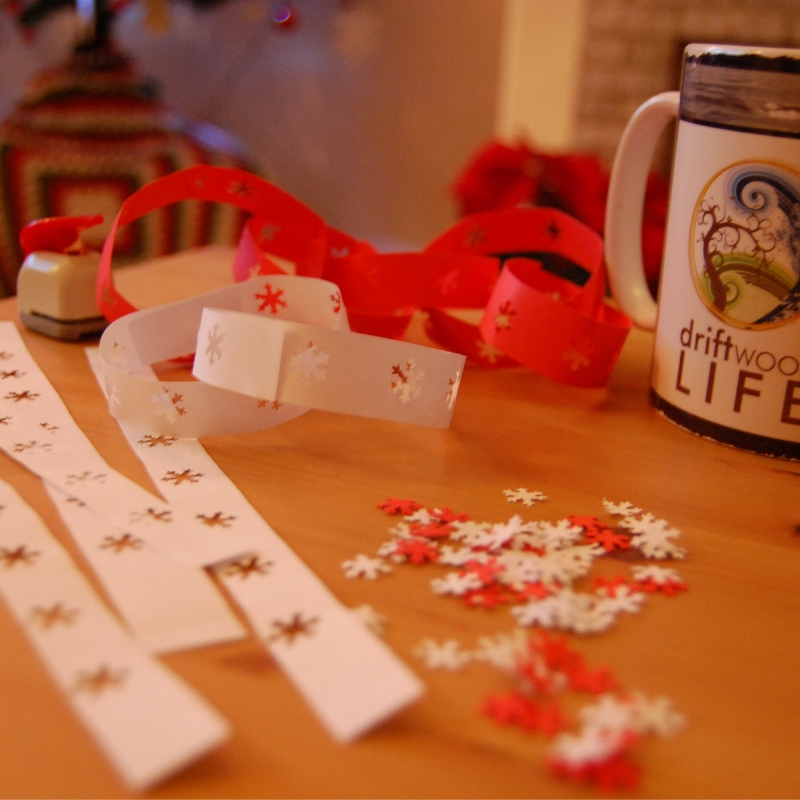
  1. Choose a colour that you like, patterned or plain.
  2. Cut the paper into 1.5 cm strips, this will give you 19 paper strips from one piece of A4 paper. (plus a 1cm strip)
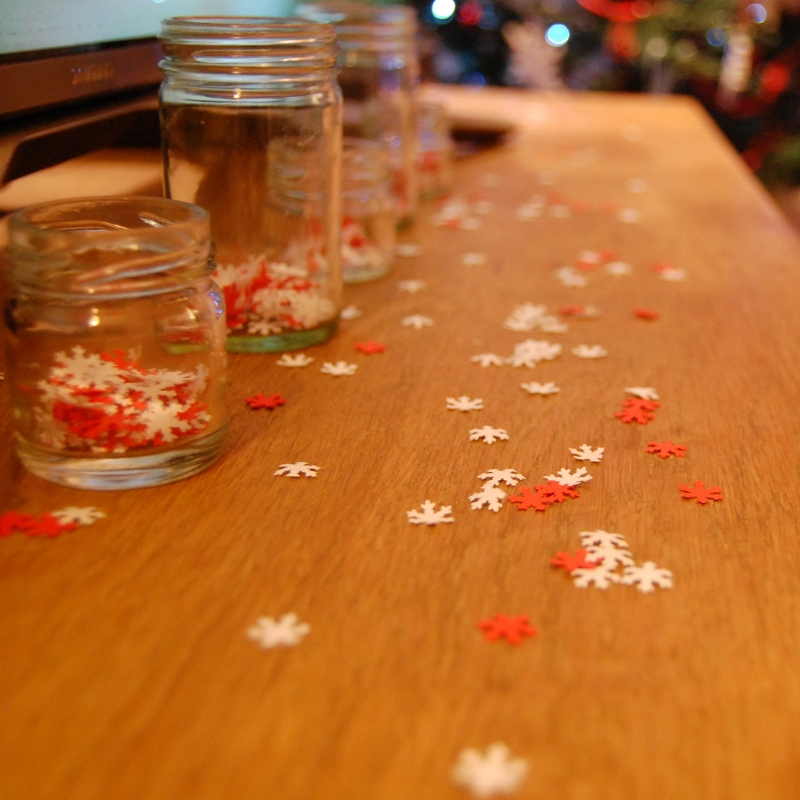
  3. If you want to make your paper chain funky, punch out holes along the length of the strip. We used a festive snowflake)
  4. Glue on end of the strip and stick to the opposite end.
  5. Loop through the next strip and glue the ends together.

You can create patterns by alternating colours and patterns.

You can use strips of old magazines, scraps of paper, old bits of left over wrapping paper; the options are endless.

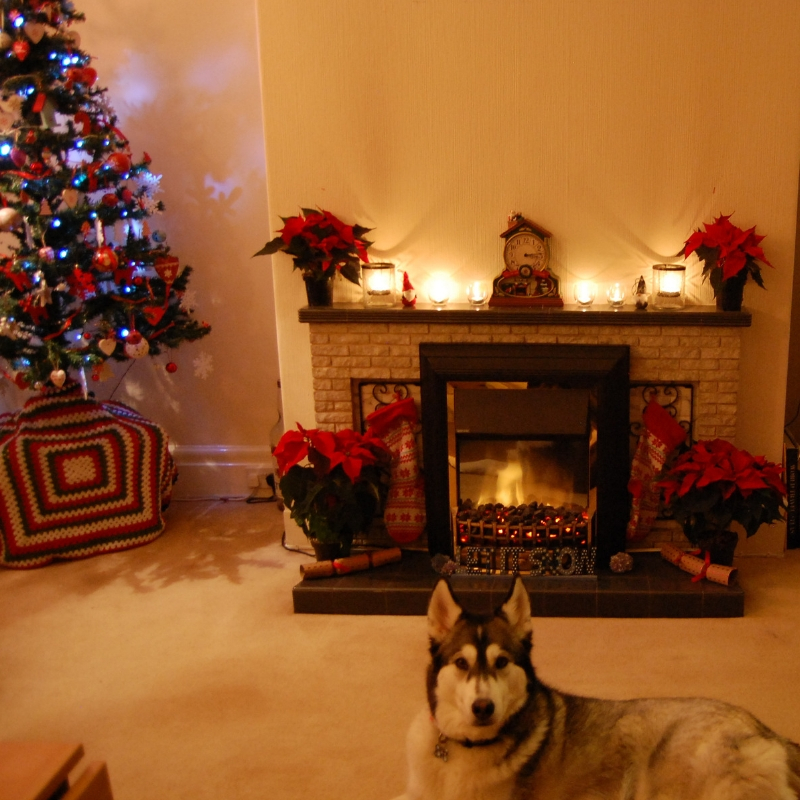
You are left with your own unique paperchain! String around the house, put on the tree in place of tinsel or drape over the mantel! The options are endless.


Table Confetti & Glass Jars

Table Confetti:

When you use the hole punch to elaborate your other decorations, save the punched out shapes to sprinkle over the table. Instant colour coordinated decorations.


Jar Decorations:

Another way to use the punched out shapes is to fill empty glass jars and use as a table decoration. If you have any LED Fairy lights you can always add these to the jar as well for extra Christmas magic

Nordic Mini People

4.   Nordic Mini People:

Flannels for in the bathroom and cloths for in the kitchen.

You can clean up nuclear disasters with wet wipes, do you really want that on your face and body?

Equipment:

  • Felt in a colour of your choice – make sure this is not of the synthetic plastic variety.
  • Wooden bead (I bought mine from Tynemouth Market and they came loose).
  • Strong Glue (I used a hot glue gun but superglue would work too)
  • Thick cotton thread (colour of your choice)
  • Needle (for thick cotton)
  • Thin cotton (colour of your choice)
  • Needle (for thin cotton)
  • Paper
  • A black or brown pen
  • A pin
  • Rice
  • A funnel (you can make a paper one) 

Instructions:

  1. Draw your body template out on a bit of paper. Have a play around and find a shape and size that works for you.
  2. Draw your hat out on paper. Making sure that your hat single width is 1 ½ times wider than the diameter of your bead.
  3. Fold a piece of felt in half so that the fold is at the top, then pin on your body template.
  4. Cut round the body shape, leaving the top fold uncut.
  5. Fold a bit of felt in half so that the fold is at the left-hand side, then pin the hat template.
  6. Cut round the hat leaving the fold to the left-hand side uncut.
  7. Pin your felt body in the middle to make it easier to sew.
  8. Sew round ¾ of the body using a blanket stitch (See link on how to do this stitch)
  9. Leaving the needle and thread still attached, funnel the in rice to your body.
  10. Complete the sewing around the rest of the body.
  11. Using the thin thread, loop round sewing the bead to the top middle of your body shape. Do this several times keeping all the loops at the back of the bead.
  12. Using the thin thread, sew down the side of the hat with a running stitch. (See link on how to do this stitch
  13. Glue the hat onto the bead, ensuring that it hangs down the back covering all your stitches.
  14. Draw a face onto your bead.
  15. Either stand  or add a loop to the back to hang.

I know this seems like lots of instructions, but it literally take minutes to make a Nordic Mini Person and they look delightful!!

I know this seems like lots of instructions, but it literally take minutes to make a Nordic Mini Person and they look delightful!!

Smiling Christmas Tree Decoration!

Danish Hearts:

These lovely little hearts can be made out of paper or felt. I like making them out of paper. You can make a simple platted heart, or a more complex variety.

A simple heart download  Template

A diagonal heart – Template

Snowflakes:

Throwback to your school days, you can’t beat a cut out snowflake. You can colour code this to your other decorations by using the same colour paper. They look fabulous when cut out of Christmas patterned craft paper.

We made these snowflakes about 5 years ago. We store then in a book and bring them out again with the rest of the decorations. 

However you decorate your home this Christmas, make sure the impact of your decorations aren’t felt by our planet for generations to come.

The magic and the sparkle of Christmas is even greater when you spend time with loved ones making decorations, traditions and memories together. Add a hot hot chocolate for instant bliss! 

MERRY CHRISTMAS

Shaped by NATURE - Driven by YOU

Want to learn more? 

Would like to learn more about how to;

🎅🎄Have some Christmas Magic without Plastic!!! 🎄🎅

Plastic Free Christmas ~ A Festive Guide Workshops:

  • Monday 6th December 2018 at Pulp Fiction Future Foods Whitley Bay 1830-2030 £10 pp (plus booking fee)
  • Monday 10th December 2018 at Little Green– Jesmond 1830-2030 £10 pp (plus booking fee)

Next Blog:
Plastic Free Christmas~ Festive Guide ~Gifts

Spread the word

Leave a Reply

Plastic Free Christmas ~ A Festive Guide ~ Decorations
Close Menu